Camranger 2 Arca Plate Adapter
Having the ability to beam images from a camera to a smartphone or tablet is convenient for a variety of reasons ranging from remote control away from the camera to the ability to review images with clients on a large screen. Camera manufacturers included WiFi features in their products many years ago, but most of these solutions are awkward at best. The process to hook up a device is often unnecessarily involved and the set of included features not fit for professional use.
Camranger stepped into this gap many years ago and developed a wireless bridge that attaches to the camera and comes with a well thought-out app. It has been a standard industry solution for quite some time, but unfortunately it was not Fujifilm compatible until 2019. I just learned a few weeks ago that my cameras are finally supported and ordered one right away.
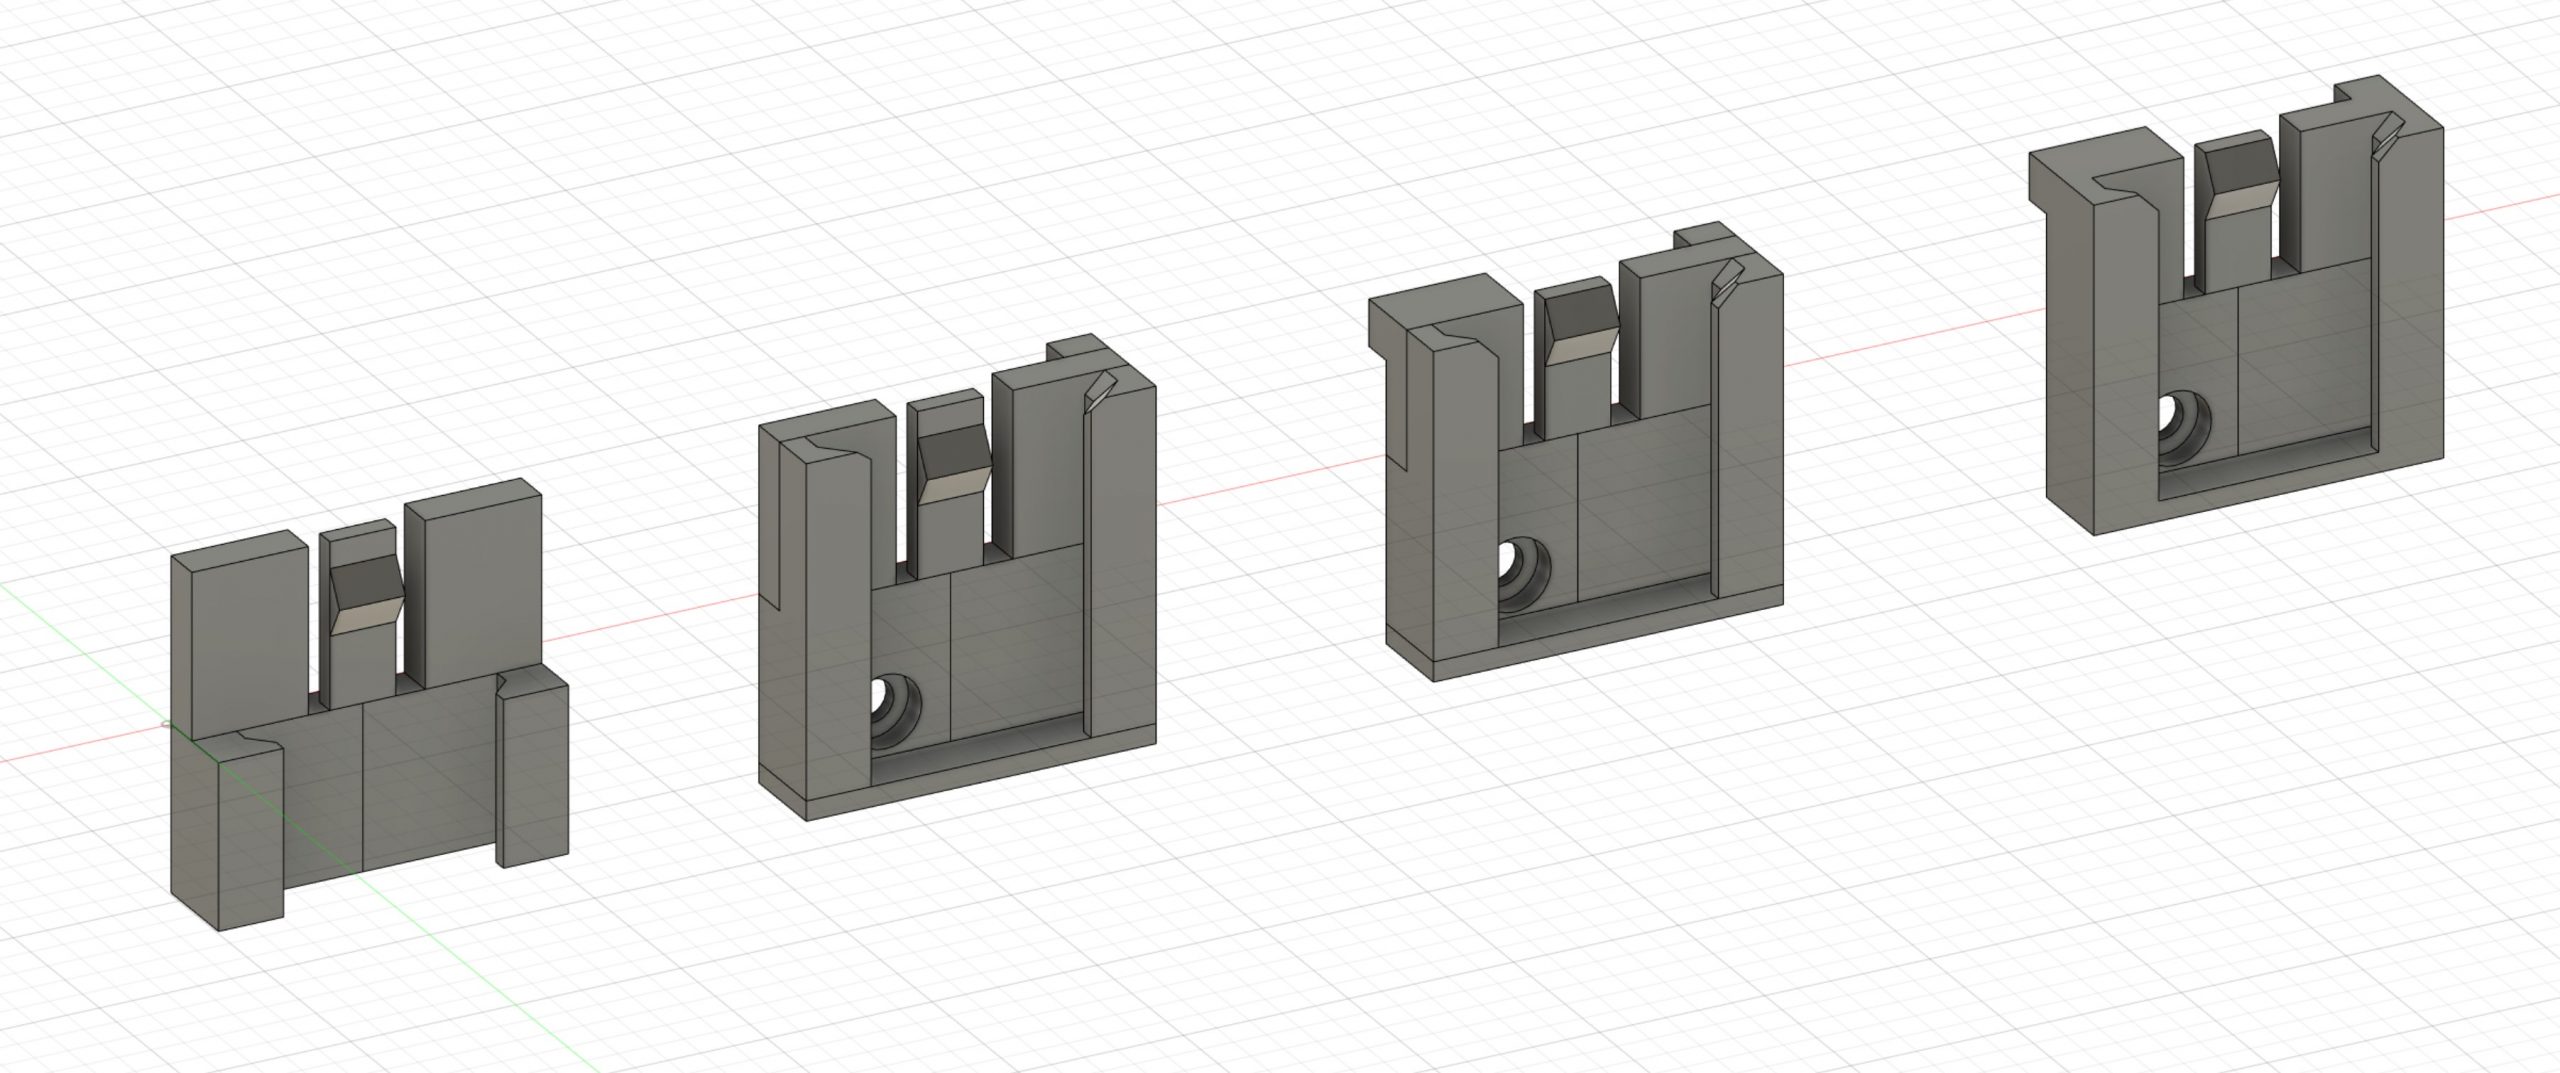
Development process in Fusion360
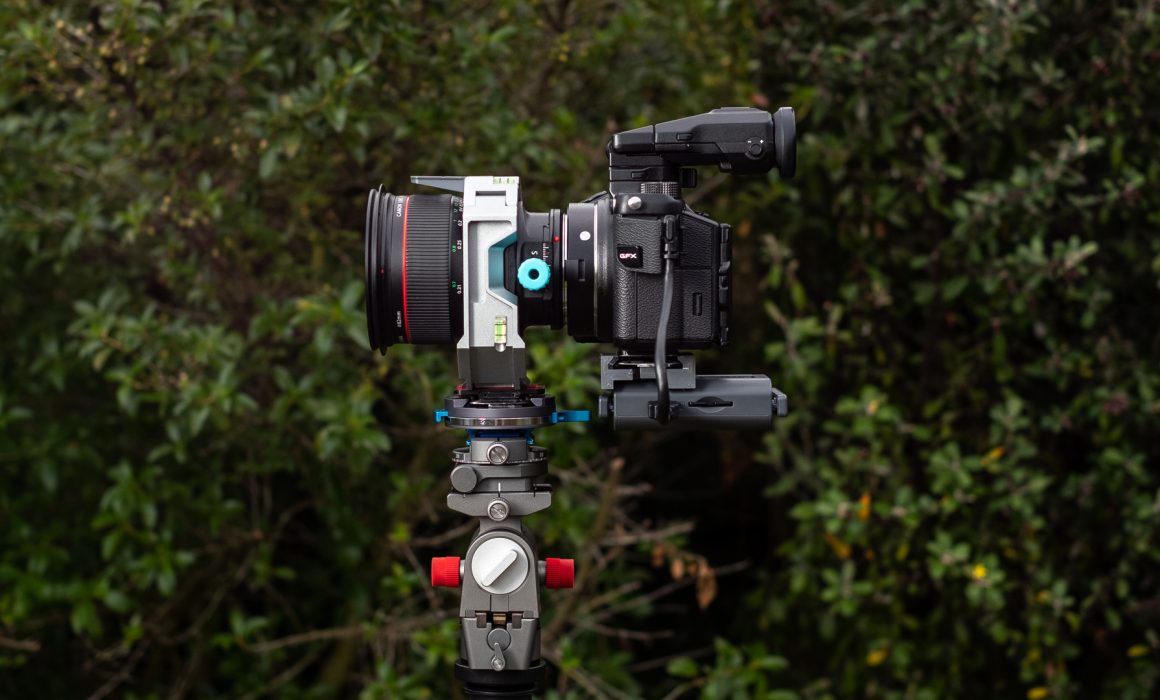
My only problem was where to attach this box. The Camranger comes with a hot shoe adapter that I decided not to use. My hotshoe already carries a wireless trigger, and even if it did not, the swivel viewfinder I use on my GFX50S does not hold that much weight. So where to put it? The manufacturer also suggests to attach it to an L-bracket, which is again not convenient thanks to Fujifilm’s awkwark placement of the battery compartment on the GFX50S. So it was once again time to fire up the 3D printer.
Since my camera and tripod connect by Rogeti TSE-Frame, the standard tripod mount at the bottom of my GFX50S body is still free, at least while shooting. I have a Peak Design standard 4-way plate attached that allows me to attach my camera to a Peak Design Capture Clip on my Thinktank belt. I decided to use this Arca plate at the bottom of the cameras as my attachment point while shooting. I only needed some sort of adapter.
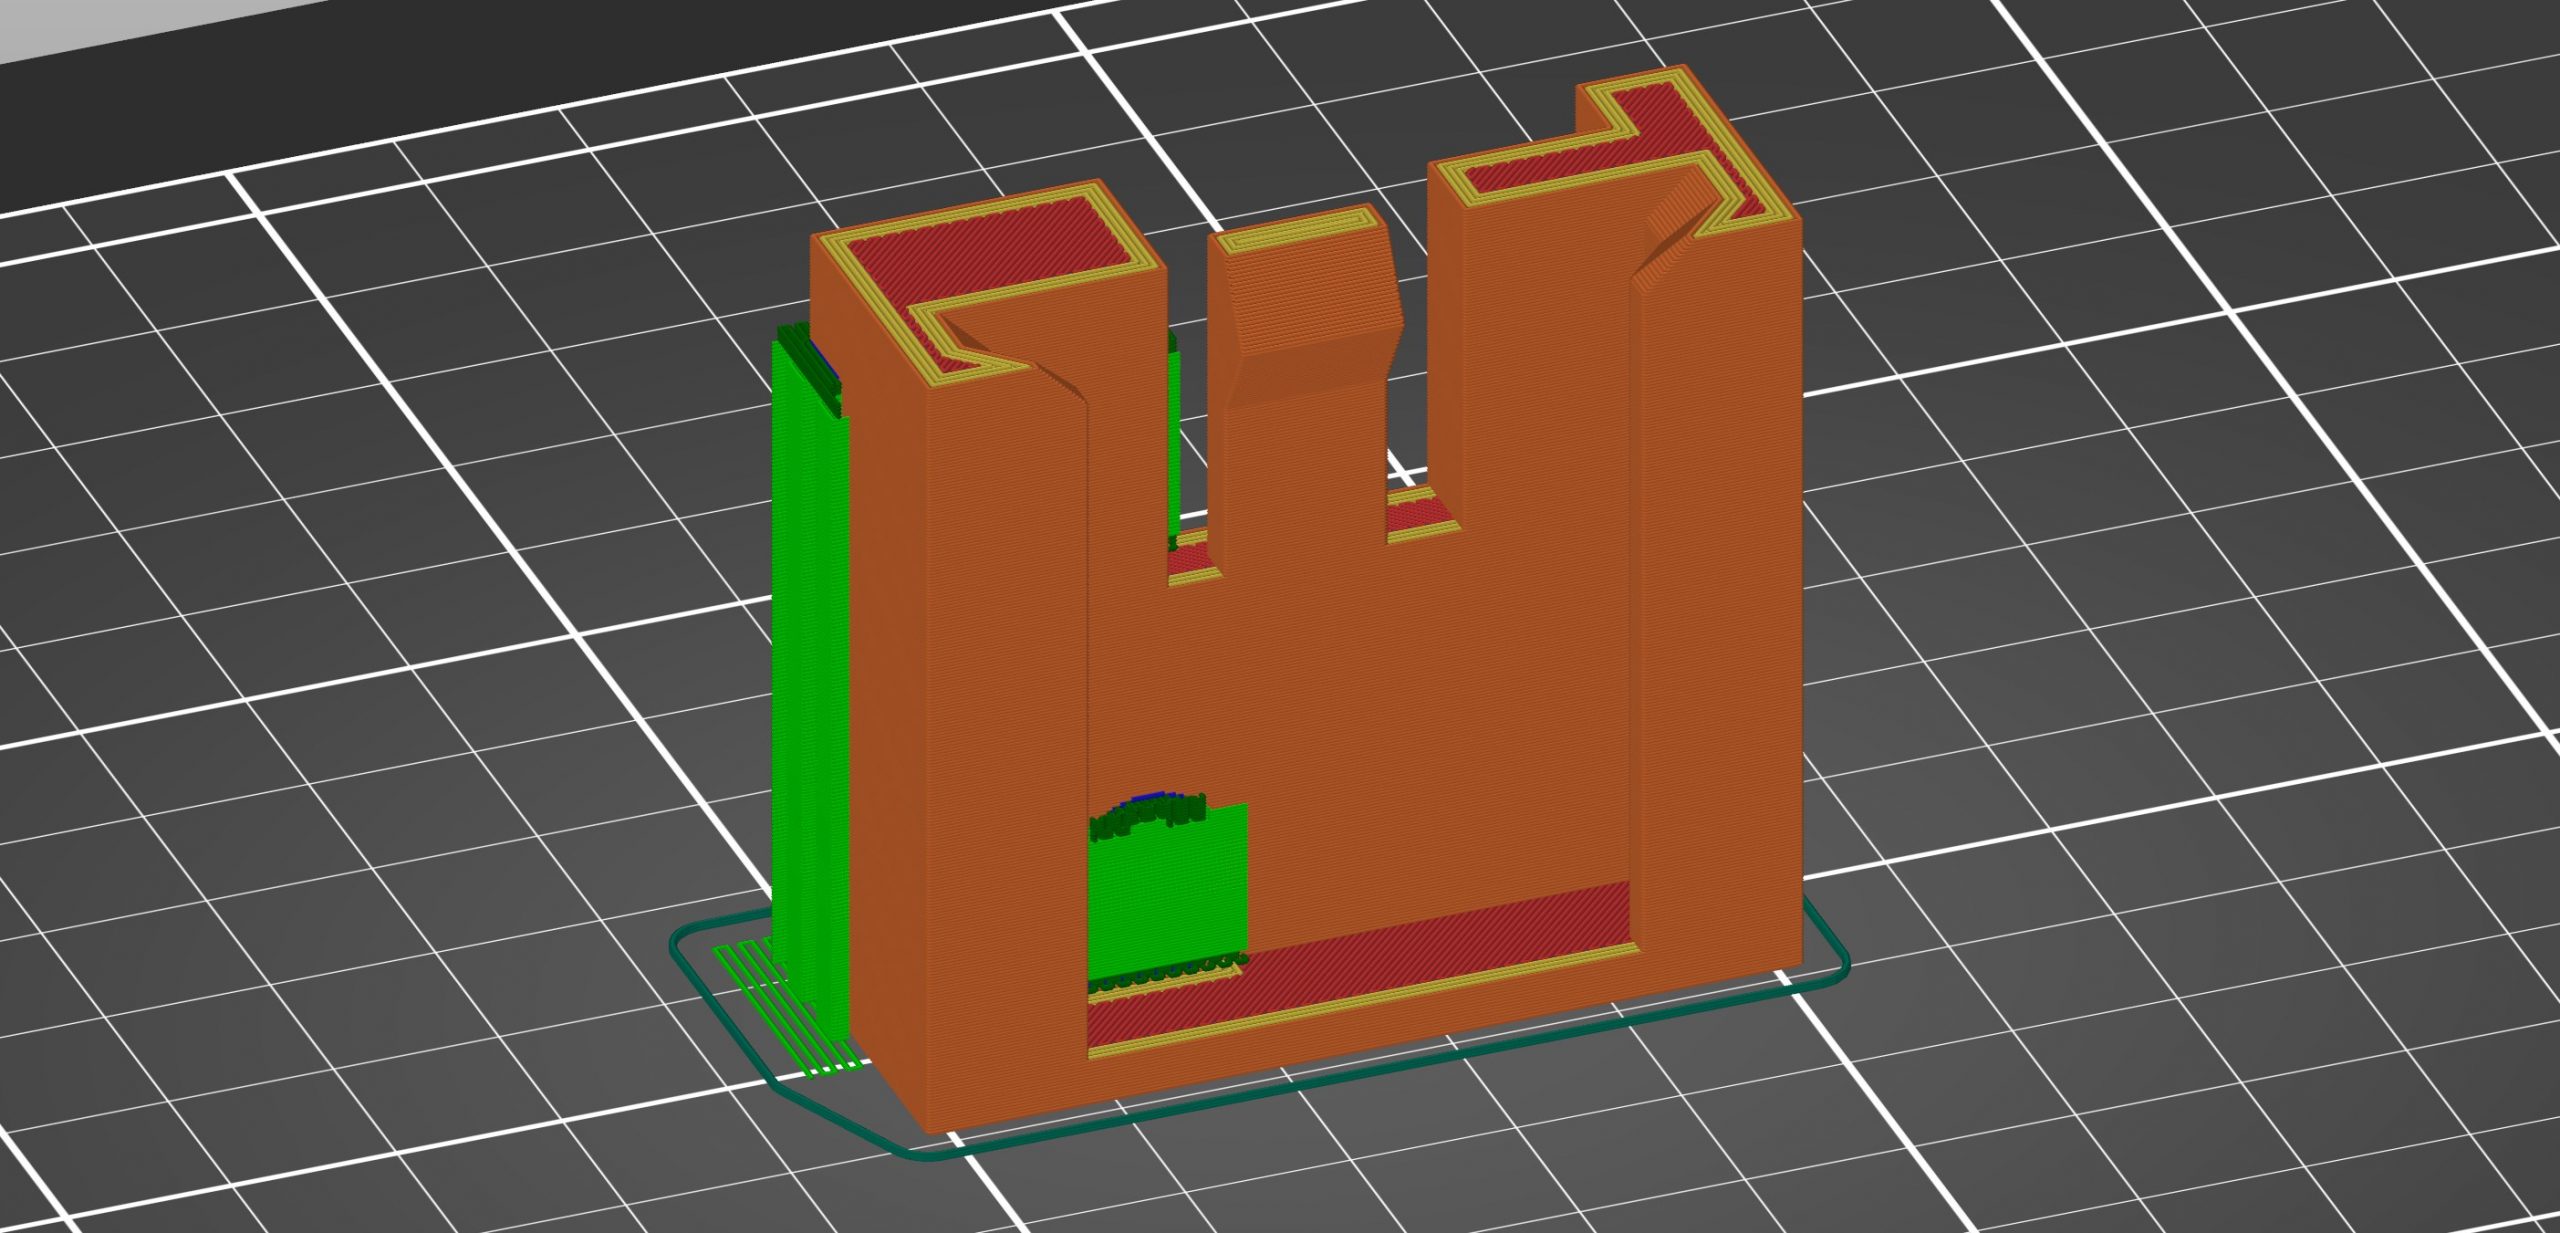
ready to print: each line represents a 0.2mm line of plastic extruded at 240 degrees c
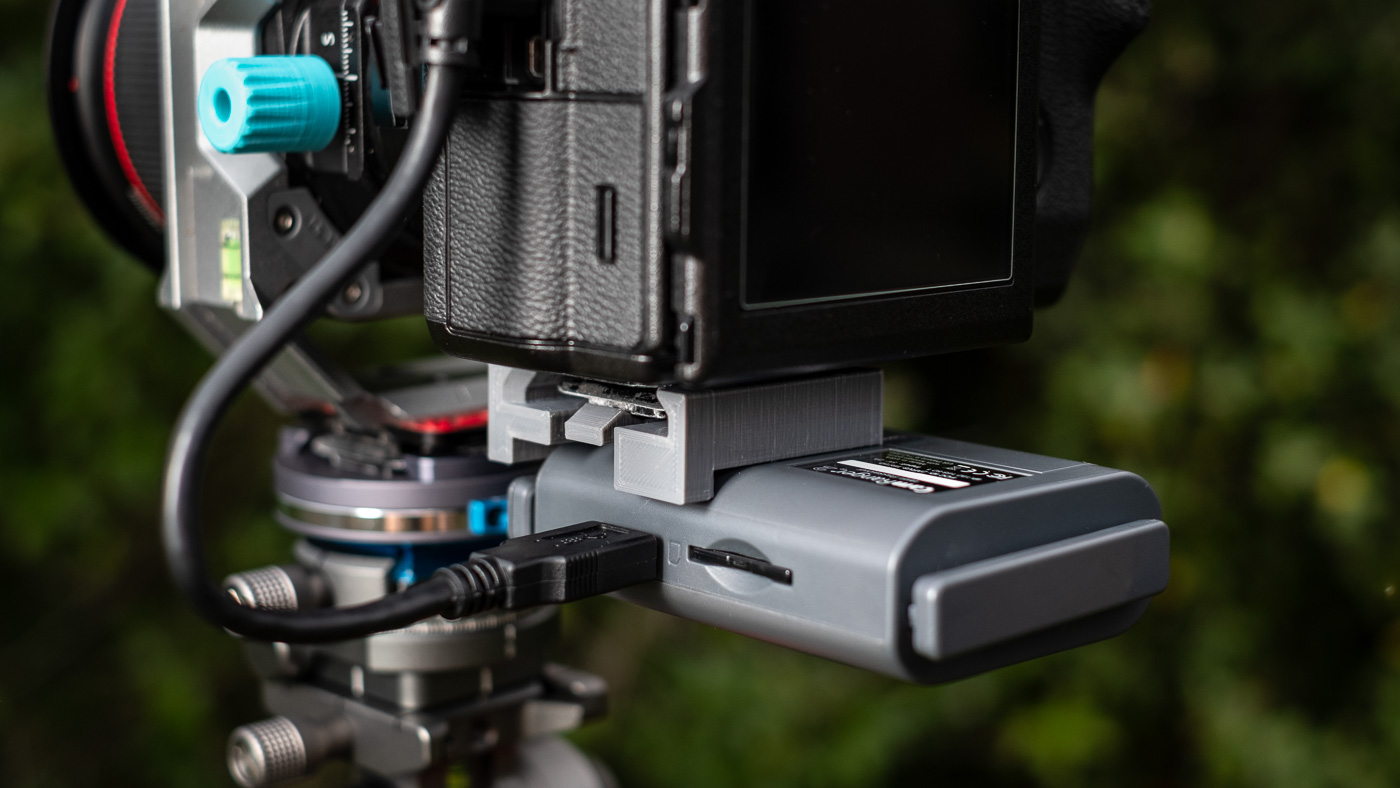
I could have done this with a standard Arca clamp mounted to the Camranger, but that would have been bulky and heavy, and it would also have blocked the Camrangers battery compartment. Instead I decided to design a custom adapter that screws into the Camranger’s standard 1/4″ port.
The model is designed for a peak design standard arca plate for a snug fit. a spring latch further holds the device in place
Special protrusions around the edges prevent the adapter from twisting, while a spring latch mechanism provides further security. The off-centre placement of the mounting screw allows me to keep the battery compartment fully accessible. The result is a low-height and lightweight adapter that does its job perfectly.
Note that the adapter can be oriented in other directions than shown in the image. I was hoping to install the Camranger sideways rather than protruding from the back of the camera, but the USB cable ended up colliding with my tripod head. I currently have a USB cable on backorder that is angled on both ends, which will hopefully allow me to rotate the Camranger by 90 degrees. But even as is, the device does not get in my way while I’m working, it just looks a little funny.
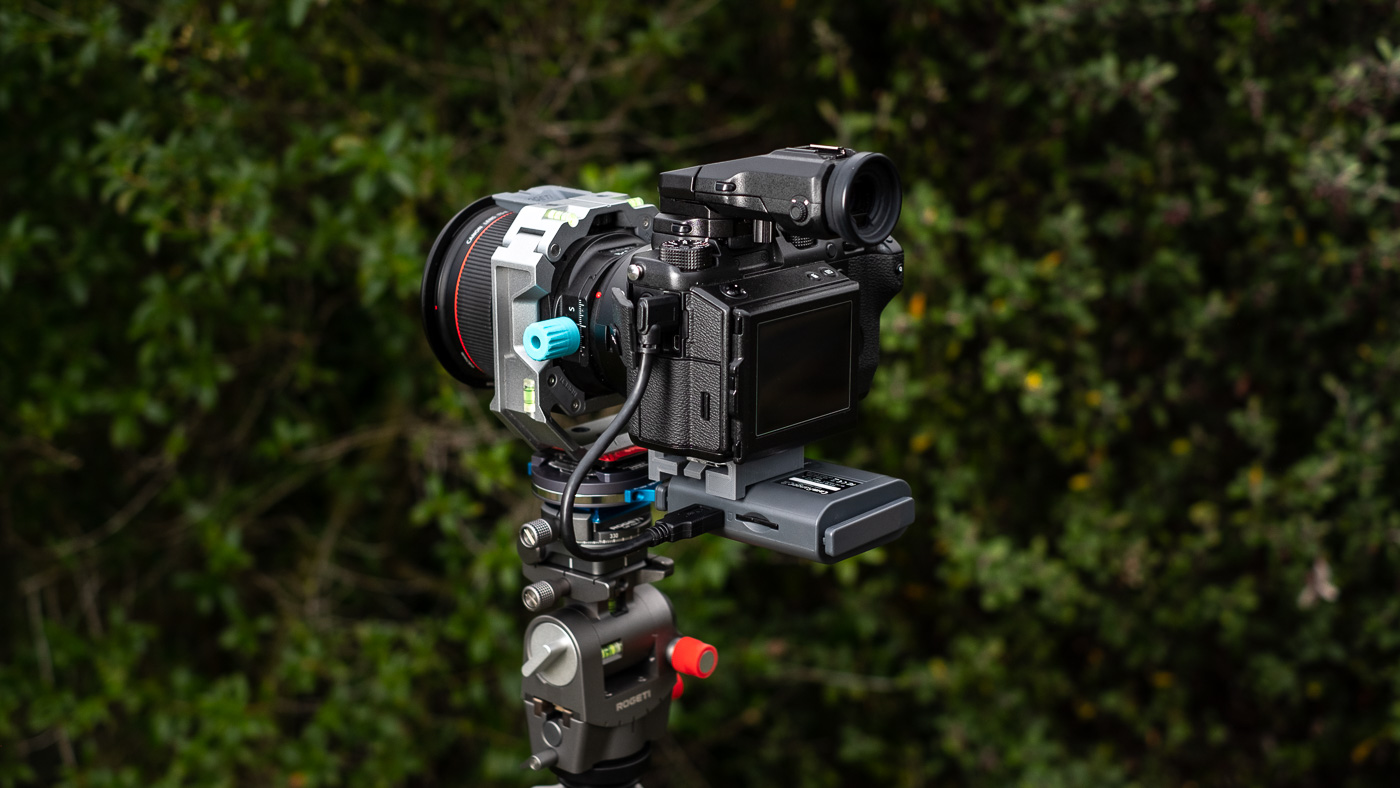
Please keep in mind that this adapter is specially designed for standard Peak Design Arca plates (tested with a Peak Design 4-way and Peak Design dual type plate). I tested the adapter with two other brands of Arca plates and they did not fit. So this might not be a solution that works for very many people, but I have made the adapter available for those who would like to try it out.

